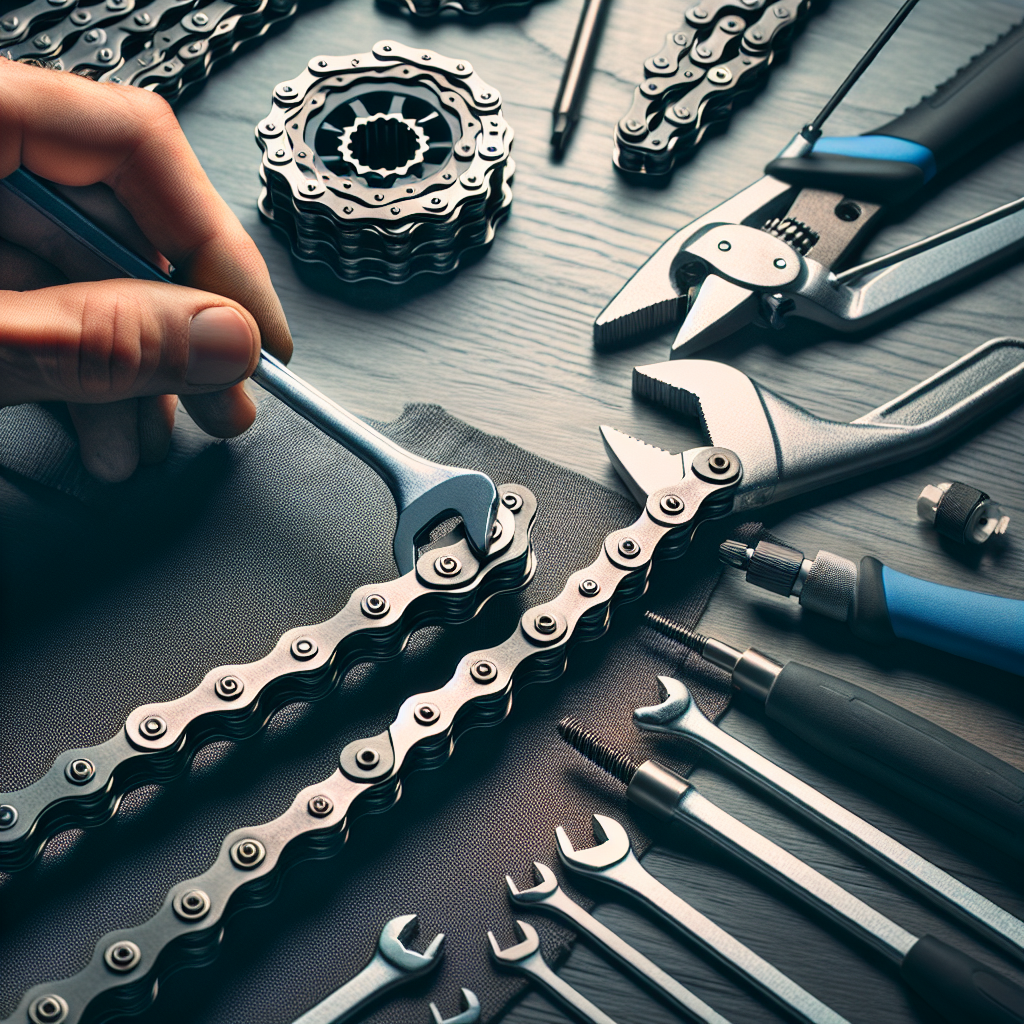
Whether you’re an avid cyclist or a beginner, knowing how to change a bicycle chain is a fundamental skill that every rider should have. A well-maintained chain ensures smooth and efficient pedaling, reducing the risk of accidents and enhancing your overall cycling experience. In this article, we will guide you step-by-step on how to change a bicycle chain, providing you with the necessary knowledge and tips to successfully complete this task. So, grab your toolbox and let’s get started on giving your bike a chain makeover! Disclosure: As an Amazon Associate, I earn from qualifying purchases.

Preparation
Before you begin changing your bicycle chain, make sure you have gathered all the necessary tools. You will need a chain tool, a quick link or chain pin, and a ruler or measuring tape to determine the appropriate chain length. It’s also important to ensure that you have a clean work area to prevent any dirt or debris from getting into the chain.
Removing the Old Chain
To start, shift the chain to the smallest chainring and rear cog. This will help make it easier to remove the old chain. Next, locate the quick link or chain pin that holds the chain together. If your chain has a quick link, simply unfasten it following the manufacturer’s instructions. If your chain doesn’t have a quick link, you can break the chain at the pin using a chain tool.
Determining the Chain Length
Before you can attach the new chain, you’ll need to determine the appropriate length. Take the old chain and measure its length. This will serve as a guide when determining the length of the new chain. If the old chain was the correct length, you can simply use it as a template. However, if the old chain was too long or too short, you’ll need to measure the distance between the front and rear chainrings to determine the appropriate length for the new chain.
Attaching the New Chain
Once you have determined the correct length for the new chain, it’s time to attach it to your bicycle. Begin by threading the chain through the derailleur, making sure it is properly aligned with the front and rear chainrings. Then, connect the chain ends by either using a quick link or inserting a chain pin. Follow the manufacturer’s instructions for attaching the chain ends to ensure a secure connection.

Adjusting the Chain Tension
After you have attached the new chain, it’s important to check the chain tension. A chain that is too loose or too tight can cause problems when cycling. To check the tension, pull the chain away from the front chainring. It should have a slight amount of play, but not so much that it droops excessively. If the tension needs adjustment, you can use the rear derailleur to fine-tune it. Refer to your bicycle’s user manual or consult a professional for guidance on adjusting the rear derailleur.
Testing and Lubricating the New Chain
Before you take your bicycle out for a ride, it’s essential to test the new chain by cycling through the gears. Shift through each gear while pedaling to ensure that the chain moves smoothly and smoothly transitions between gears. If you encounter any issues, such as the chain skipping or not shifting properly, you may need to make further adjustments to the chain or derailleur.
Once you are satisfied with the performance of the new chain, it’s time to lubricate it. A well-lubricated chain ensures smooth operation and reduces friction, extending the lifespan of both the chain and other drivetrain components. Apply a lubricant specifically designed for bicycle chains, following the manufacturer’s instructions. Be sure to wipe off any excess lubricant to prevent attracting dirt and debris.

Common Mistakes to Avoid
When changing your bicycle chain, there are a few common mistakes to avoid. One of the most important is choosing an incorrect chain length. Using a chain that is too long or too short can cause issues with shifting and potentially damage your bicycle’s drivetrain. Take the time to accurately measure the old chain or consult a professional if you are unsure.
Another mistake to avoid is forgetting to lubricate the new chain. A dry chain can lead to increased friction and accelerated wear. Regularly lubricating your chain will help maintain its performance and prolong its lifespan.
Maintaining Your Bicycle Chain
To ensure your bicycle chain continues to function properly, it’s important to regularly clean and lubricate it. Over time, dirt, grime, and debris can accumulate on the chain, affecting its performance. You can clean the chain using a chain cleaner tool or a brush and degreaser. Once clean, dry the chain thoroughly and apply a lubricant according to the manufacturer’s recommendations. Additionally, it’s important to regularly monitor the wear of your chain and replace it when necessary. A worn chain can cause poor shifting and accelerate the wear of other drivetrain components.

Conclusion
In conclusion, changing a bicycle chain is a task that can be easily done with the right tools and knowledge. By following the steps outlined in this article, you can remove the old chain, determine the appropriate length for the new chain, attach it securely, adjust the chain tension, test and lubricate it, and avoid common mistakes. Remember to regularly maintain your chain by cleaning, lubricating, and monitoring its wear. With proper care, your bicycle chain will provide smooth and reliable performance for many rides to come.
Disclosure
As an Amazon Associate, I earn from qualifying purchases.

